This is the first of its kind engine build for us and probably in the US: A 1.9TD engine block AAZ code, bored out from 79.48mm to 80.96mm to be fit with 81mm TDI pistons from Europe. This gives us a small bump in displacement from 1.9 to 2.0 liters and with the stock 4-cyl m-TDI injection pump (Landcruiser UK model) we also imported from Europe this should make a dandy of an engine for our customer. I've got a ton of pics of the build but have little time to post them here so now is a good starting point.

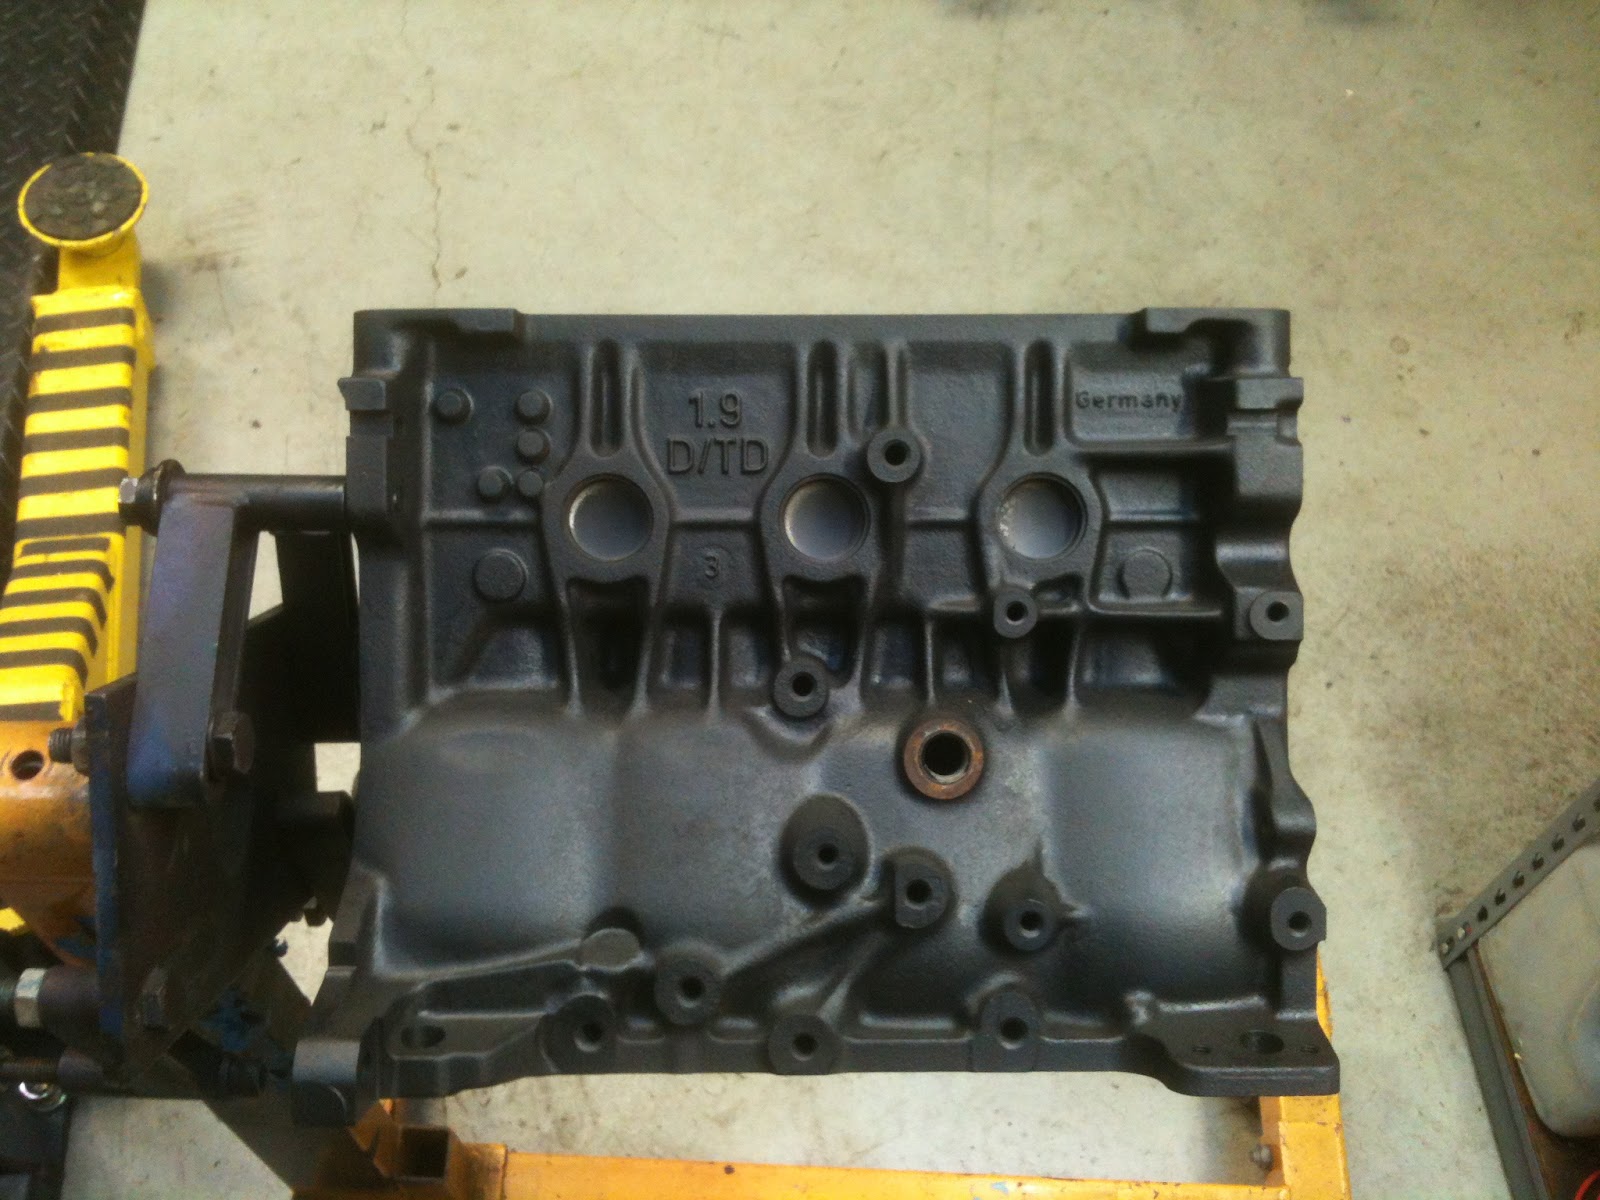
The tanked, bored, honed, tanked again and painted 1.9TD block ready for rebuild. This is essentially the same block as the early generation 1.9TDI engines (AHU/1Z), with only very minor differences: the ID plate stamp (AAZ or 1Z or AHU or AFN) and the raised "1.9 D/TD" on the back of the block, IDI pistons vs. TDI pistons, TDI crankshaft has an additional plate attached to the crank for the crank sensor to read the crank position from (see pic below), and some small variations of the oil jets between the early and later models.
Engine rebuild bench ready for action. New 81mm pistons 4 in a row, with one first oversize (o/s) 79.96mm 1.9l TDI piston in behind the row for size/bowl comparison.
Another angle on the eng rebuild bench.
And now with the addition of 4 reconditioned AAZ rods, replete with new bushings on the small end.
One more angle for good measure.
Quick aside: Why yes that is approx. $7k worth of rebuilt Vanagon Syncro hardware: front differential and rear transaxle both with their new diff locker actuators shining off to the left.
Back to 2.0l m-TDI engine build land
Down to the nitty gritty:
Polished AAZ crank in the foreground, with a dirty as sin AHU crank behind for comparison. Notice the crank position plate on the last throw to the R on the AHU crank. This is where the AHU CPS reads the crank position off of. On the AAZ eng, or in this case a m-TDI--being non-computerized--this provision is not needed.
Crank nose mod: AAZ failure prone campfered notch modified to AHU/1Z "D" protocol.
Notice the crank nose comparison here. The AHU crank on the L has a "D" shaped profile that interfaces with the crank gear solidly and with a very low failure rate. The AAZ crank on the R has just a small campfered notch that indexes with a protruding notch in the AAZ crank gear which is a known failure point with catastrophic consequences. This is a throwback to the 1.6TD engines that I cut my teeth on building over 10-yrs ago, and is how nearly two decades of VW TD engines secured the crank gear (1.6TDs from 83 through 1.9TDs till 99 maybe later in Europe). This AAZ crank nose is being modified by way of careful measurements and even more careful file work to receive the AHU "D" shaped crank gear as shown below.
AHU crank gear fitted on the modified AAZ crank nose--perfect fit without a lick of slop! Exactly what we want for this particular situation.
The AHU crank gear shown next to the modified AAZ crank nose. The campfered notch is still visible but is now embedded inside the "D" profile.
AHU crank gear fitted, checking for true.
Next up: Piston cooling oil jets
These oil jets help keep the piston crowns cool by showering the under sides with a steady stream of oil during operation. This also functions to keep the wrist pin/rod interface highly lubricated, which is a much better system vs. the "spash" effect on engines sans oil jets. Each oil jet has an internal pressure valve that keeps them closed at low RPM and subsequent low oil pressures when the oil supply is at a higher priority elsewhere in the engine like lubricating the main/rod bearings and the camshaft journals.
The oil jets are cleaned with solvent, blasted with air to flush out old oil and locktite installed on the bolt threads.
Like prized scorpions these little guys are now ready for action!
Bentley pic for reference: Note item 10 and 11.
Oil jets installed and torqued to 7ft/lbs for AAZ/1Z engines. Care needs to be taken here especially with these AAZ/early TDI oil jet hold down bolts as they use basically a 6m bolt to secure the jet to the block, whereas later AHU blocks use an approx 10m bolt with much better bite both on the tool side and the thread/block side. What I mean by care needs to be taken is don't strip the daylights out of it to get to 7ft/lbs. Use some common sense and some master mechanic's Zen to "know" when these are safely tightened.
Laying the crank:
Main bearing shells are installed in main bearing journals. Grooved side of the shell on engine block, as well as one on the cap of journal #4 to provide improved lubrication to the rods.
Assembly lube applied judiciously.
Crank shaft thrust bearing set being shown for reference. The two at the bottom of the pic install in the block at the #3 main bearing journal and the two above those install on the #3 main bearing cap. These bearings control crankshaft axial play.
Crank is inspected and cleaned one last time and then gently laid into the bearing journals.
Main bearing caps with main bearing shells in place. Note #4 cap with the oil groove.
New main bearing bolts shown for P/N reference. These are stretch/torque to yield (TYT) bolts and are a one time use and must be replaced upon removal.
Bentley pic for reference. Main bearing bolts #2 in pic, torque spec is 48ft/lbs + 90*.
Before assembly lube is applied to the main bearing caps radial clearance is checked with plastigage. An important step to any engine build.
#3 main bearing cap being shown with thrust bearing installed.
Main bearing caps are lubed, installed and torqued to spec.
Pistons/rods:
81mm TDI pistons and 4 reconditioned AAZ rods ready for mating.
Bentley pic for reference. Rods are mated to pistons, secured with circlip, rod bearings installed and then radial clearances measured with plastigage. Rod bolts are TTY and must always be replaced. Torque spec is 22ft/lbs + 90*.
#2 and #3 pistons installed in block and rod radial clearances being checked.
Pic showing oil jet interfacing with cut out in #2 piston skirt.
And #3.
Pistons #2 and #3 installed and looking very shiny.
Pistons #1 and #4 are then installed in the block, block turned upside down and then rod radial clearances checked (next few pics).
#1 rod radial clearance being checked.
Block overview.
#4 rod radial clearance being checked.
#4 rod radial clearance being checked.
Rod caps on bench with plastigage scale for reference.
Loaded short block complete, ready for top end.
Bentley pic for reference. Item 24, crank sprocket bolt to be installed next. 66ft/lbs + 90* TTY bolt, always new.
Crank bolt installed and torqued to spec. Crank is secured using a 3/8" extension positioned between the block and the crankshaft throws.
Cylinder head install:
Piston height projection is measured for each piston. The gasket selection is made based on the highest projection measurement taken.
Bentley pic for reference, head gasket selection table. 3-notch gasket it is, now time to prep the head studs.
ARP TDI headstuds.
Studs with nuts/washers out for lube prep.
New AMC AHU TDI cylinder head, being prepared for mating to short block.
Cylinder head is ready and sealing surface degreased.
ARP headstuds installed in block along with alignment dowels on two diagonal corners. These allow precise centering of headgasket and are removed via special tool once gasket is secured to block.
Cylinder head is mated to block and then ARP headstud torque sequence followed to secure head to block. 3 equal steps to 125ft/lbs in cross-work diagonal pattern.
Bare long block complete.
Misc. peripherals:
m-TDI injection pump shown along with AHU IP bracket modified to accept the hub on the m-TDI IP.
m-TDI IP opposite side.
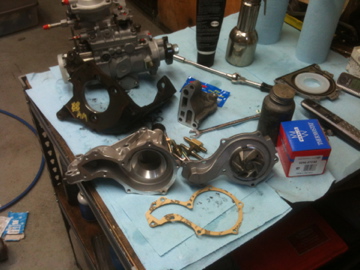
Water pump assembly halves.
Water pump body/pump assembled and ready for install.
Water pump installed on block. TTY bolts torqued to 15 ft/lbs + 90*.
Rebuilt and pressure/flow tested TDI injectors with .205 injector nozzles installed.
m-TDI IP installed on block, along with accessory bracket and oil filter flange. Injectors and glow plugs installed in head.
New oil cooler prepared for installation.
Nearly complete engine readied for customer pickup.
Fully assembled 2.0l m-TDI enging being loaded up on customer's truck.
G60/TDI/Vanagon hybrid clutch assembly, SS braided turbo oil supply line and a short lil exhaust downpipe.
Last swing before setting it down.







 Posts
Posts