Friday, April 2, 2021

2000 Eurovan rear wheel bearing replacement in situ


This repair was on my personal 2000 Eurovan weekender Syncro, with rear control arms from a 2001+ model with the corresponding larger wheel brake calipers. Now at 481k miles....  That doesn't really effect the repair but worth noting.  


First step, remove wheel hub from bearing sans proper tools. Get creative and do no harm.

Hub removed now time to remove bearing race from hub on the vice. 

Hub secured in vise, two jaw puller removing bearing race. 

Hub freed of race and cleaned up. 


Next step pull bearing out of control arm knuckle. Don’t forget to remove the giant circlip now accessible. Pull out a bunch of tools you haven’t used in years
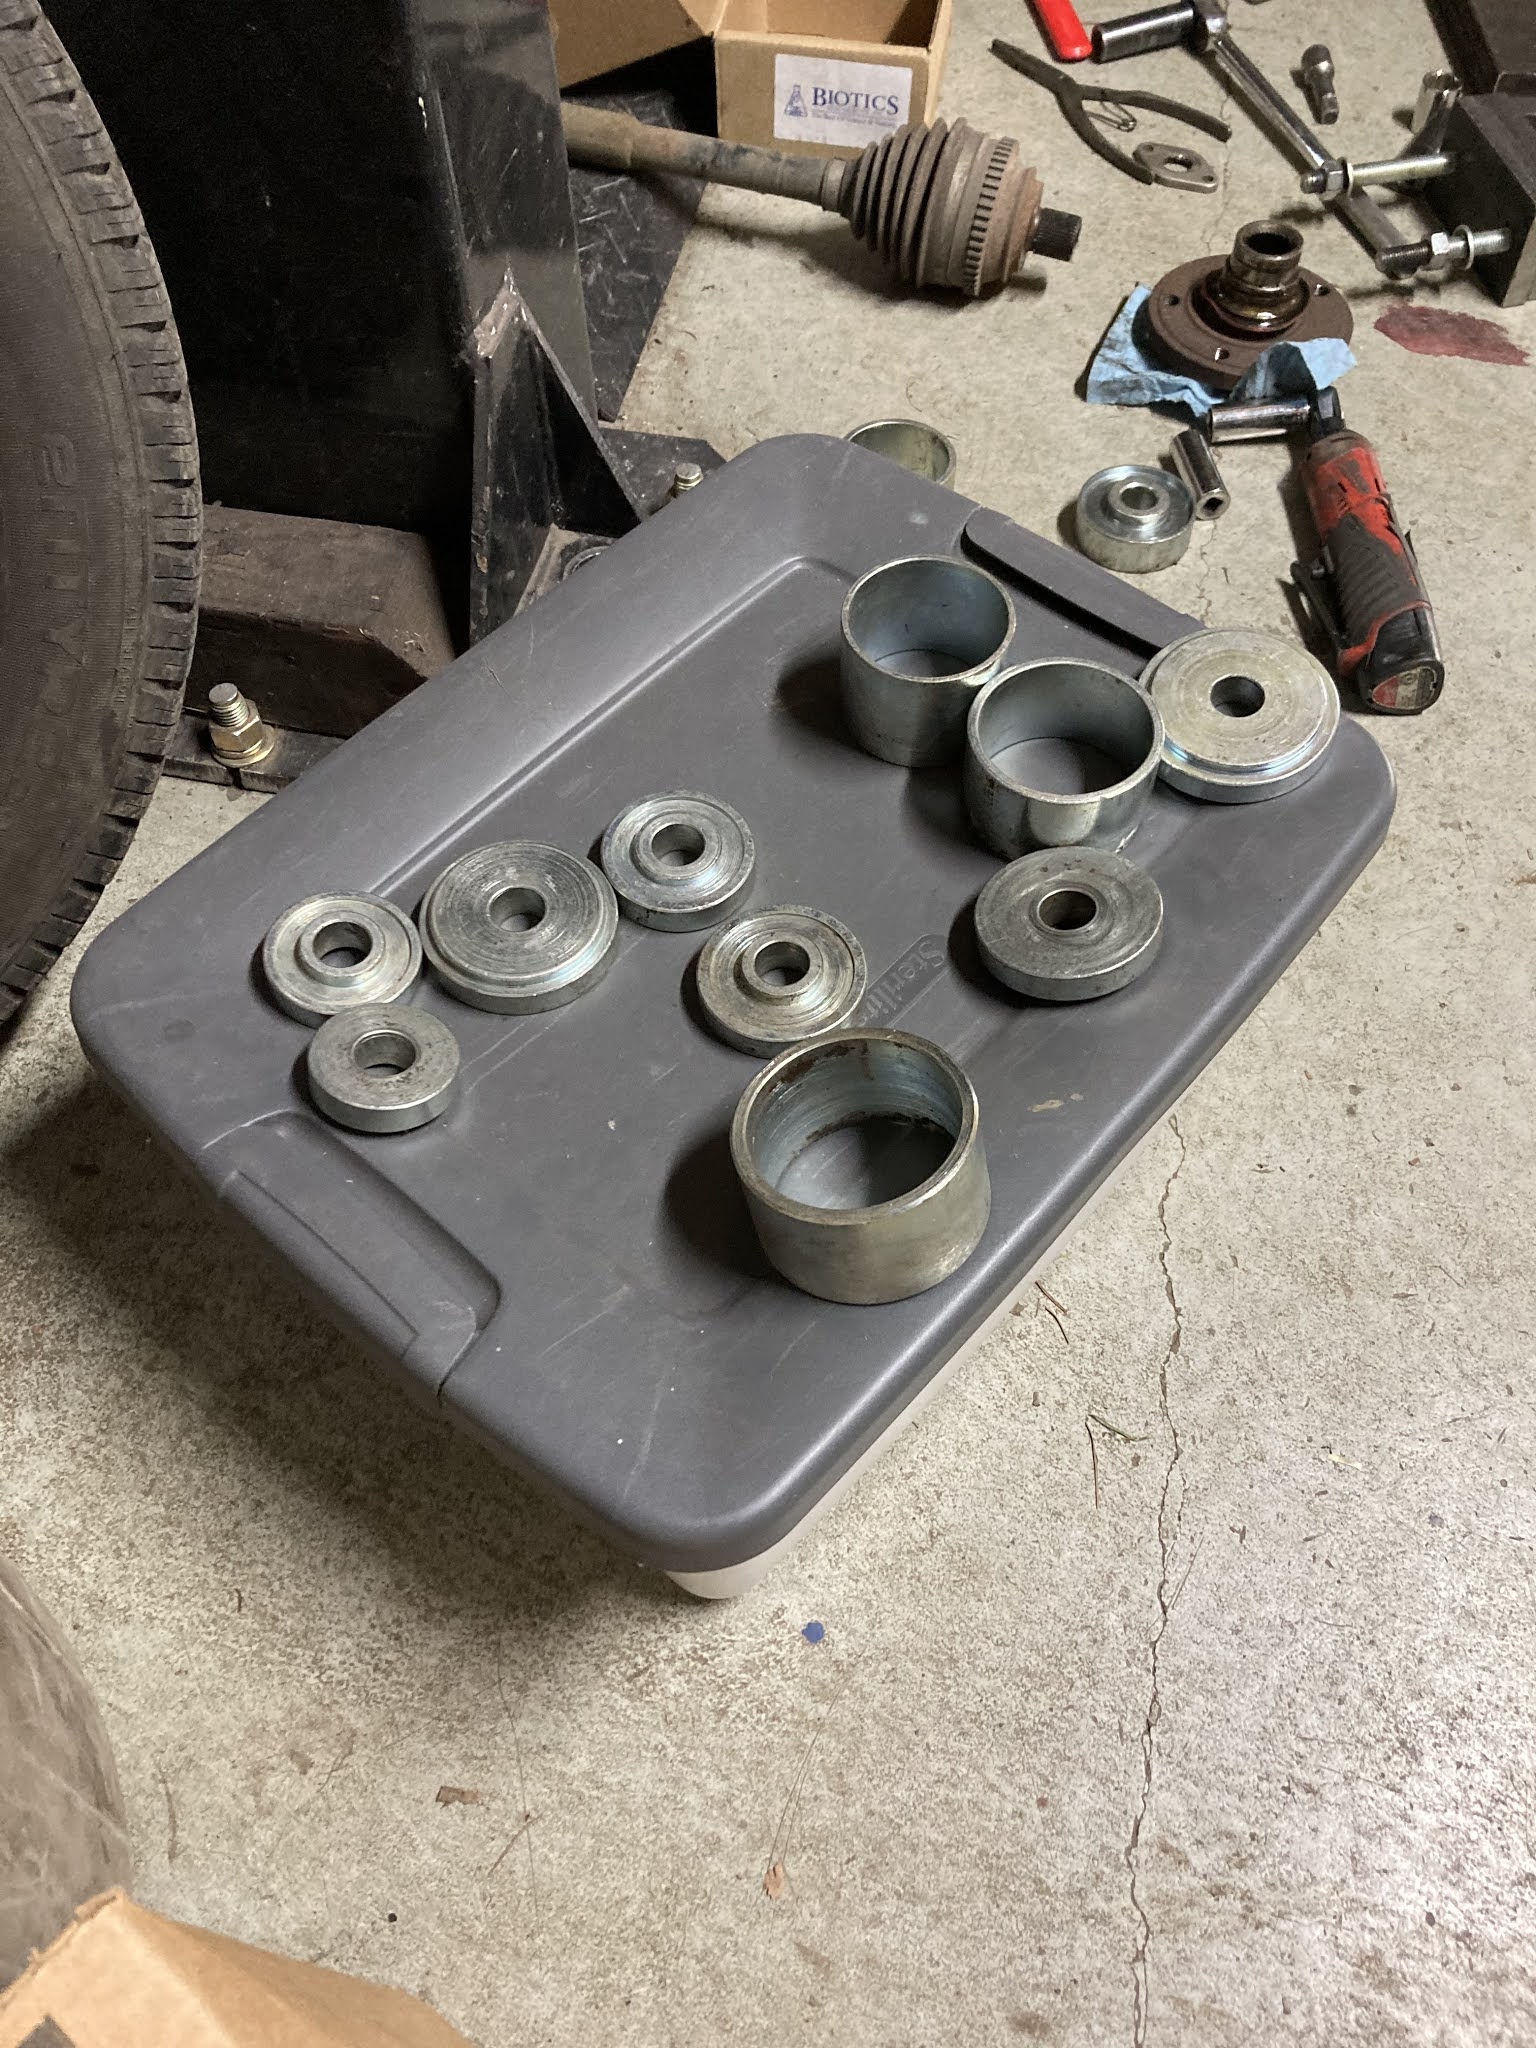


Pull out old bearing using screw technique. Lube your threads as needed, you’ll know when it’s enough.  
 
 
Old bearing removed.


 Old bearing removed from housing. Clean till sparkly.

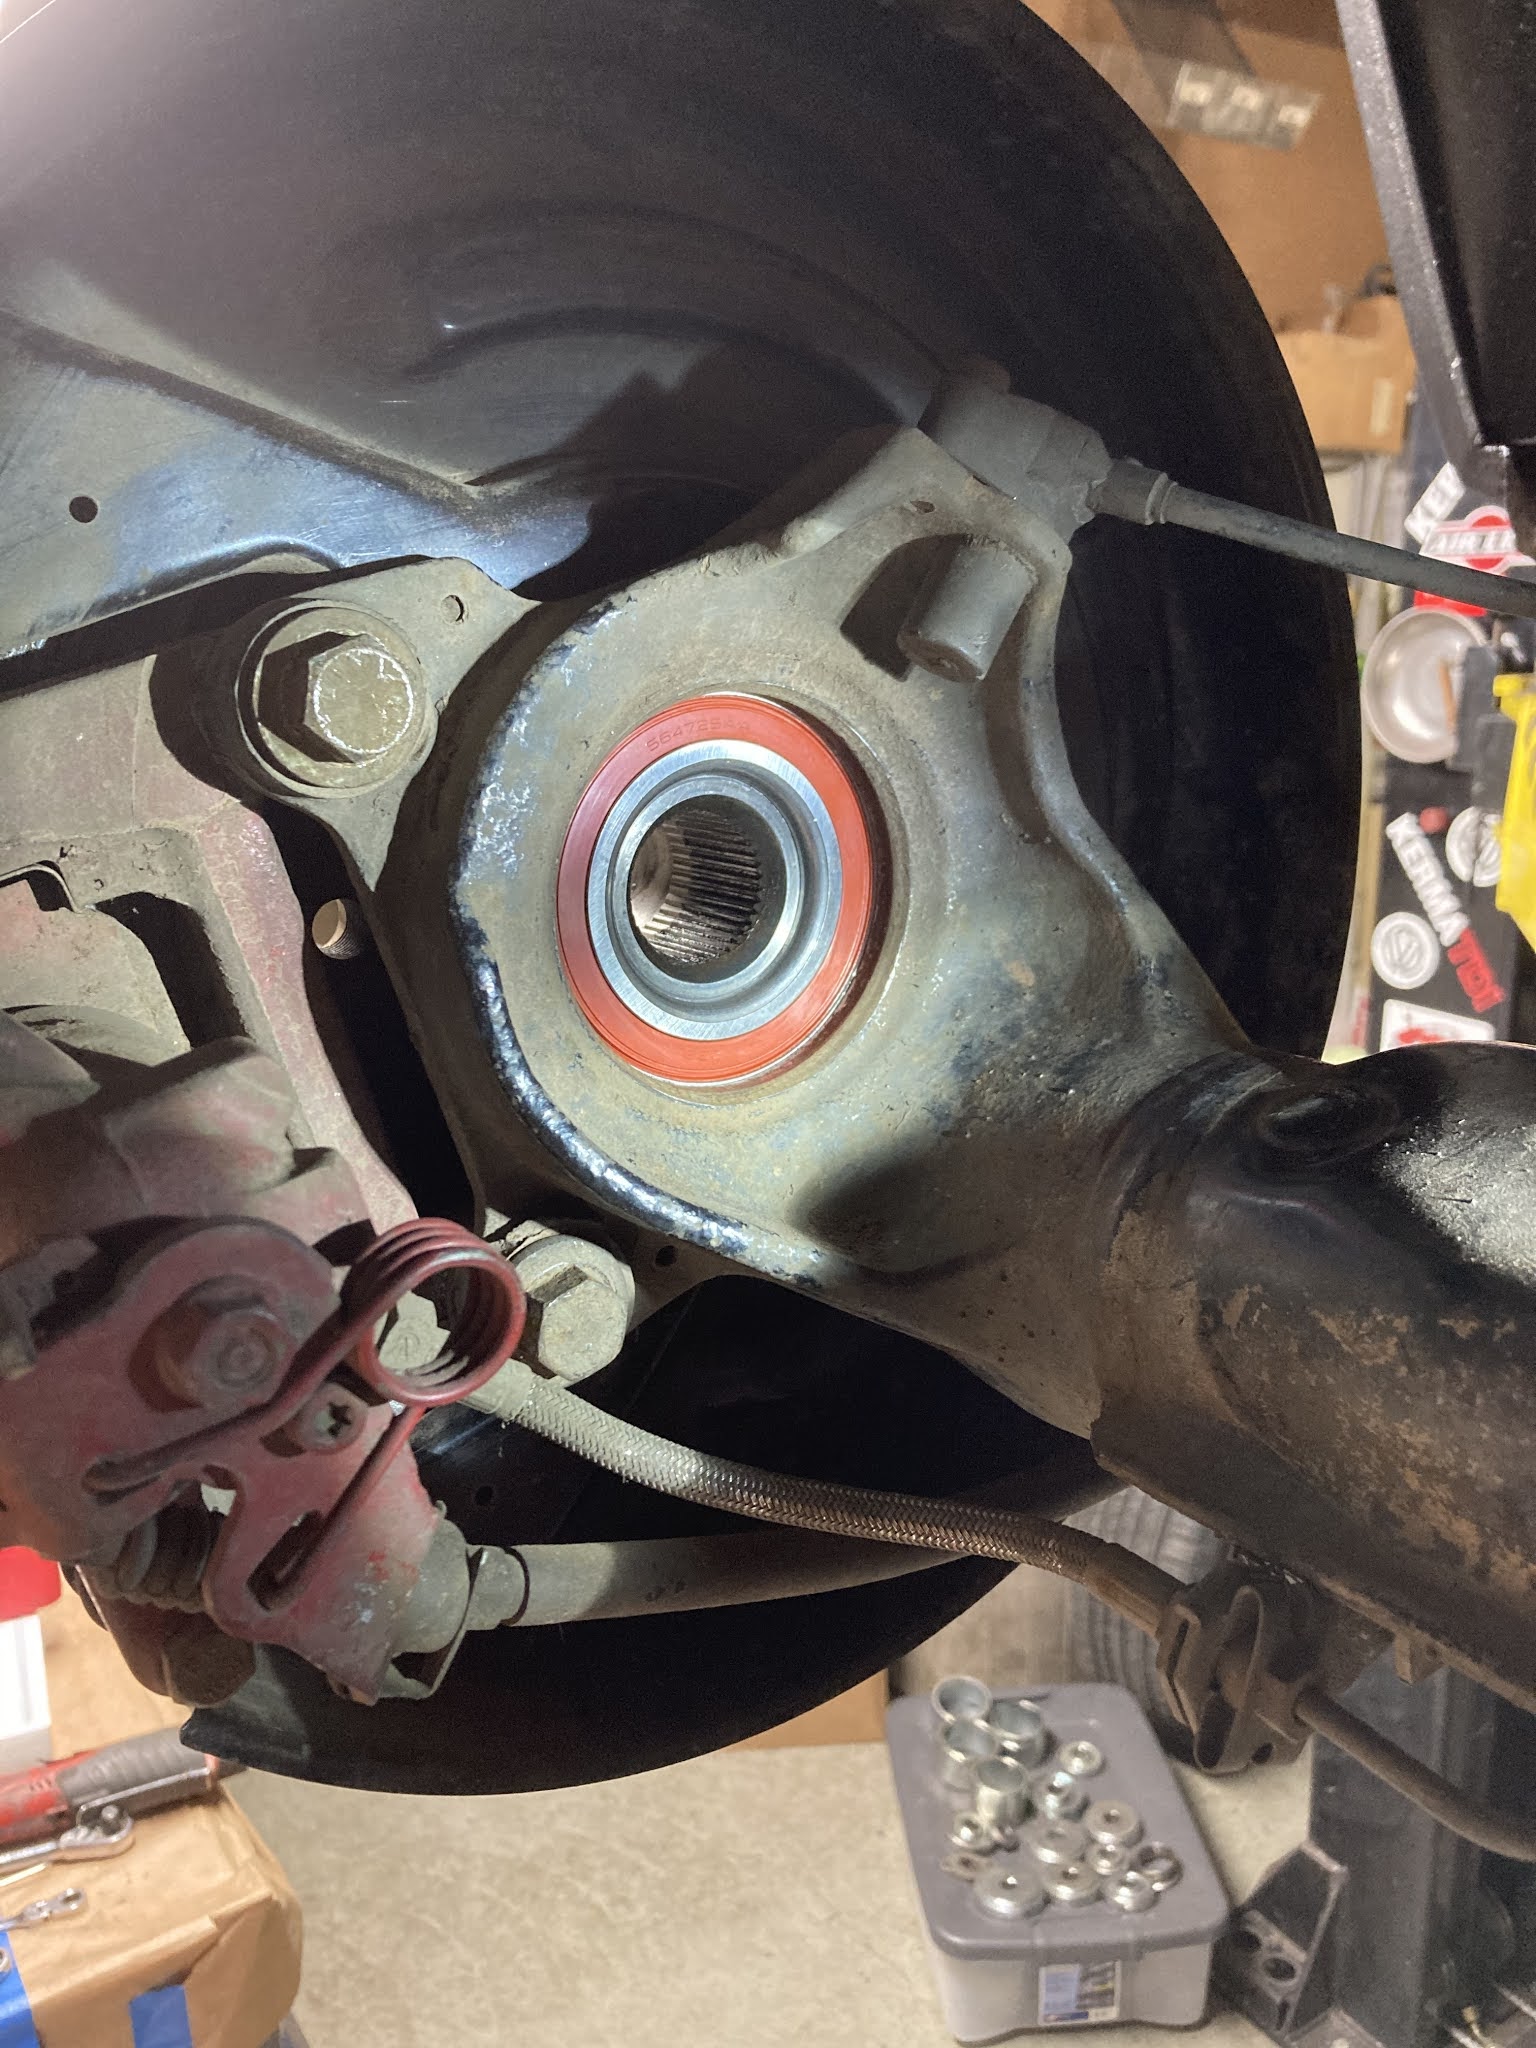
Pressing new bearing in.


New bearing installed. Don't forget to install circlip.

Reinstall wheel hub.

Installed.
 
 
Inner view of new bearing.
 
 
Next intall rotor shield, and install rotor/caliper. Torque spec on caliper bolts is 81ft/lbs.
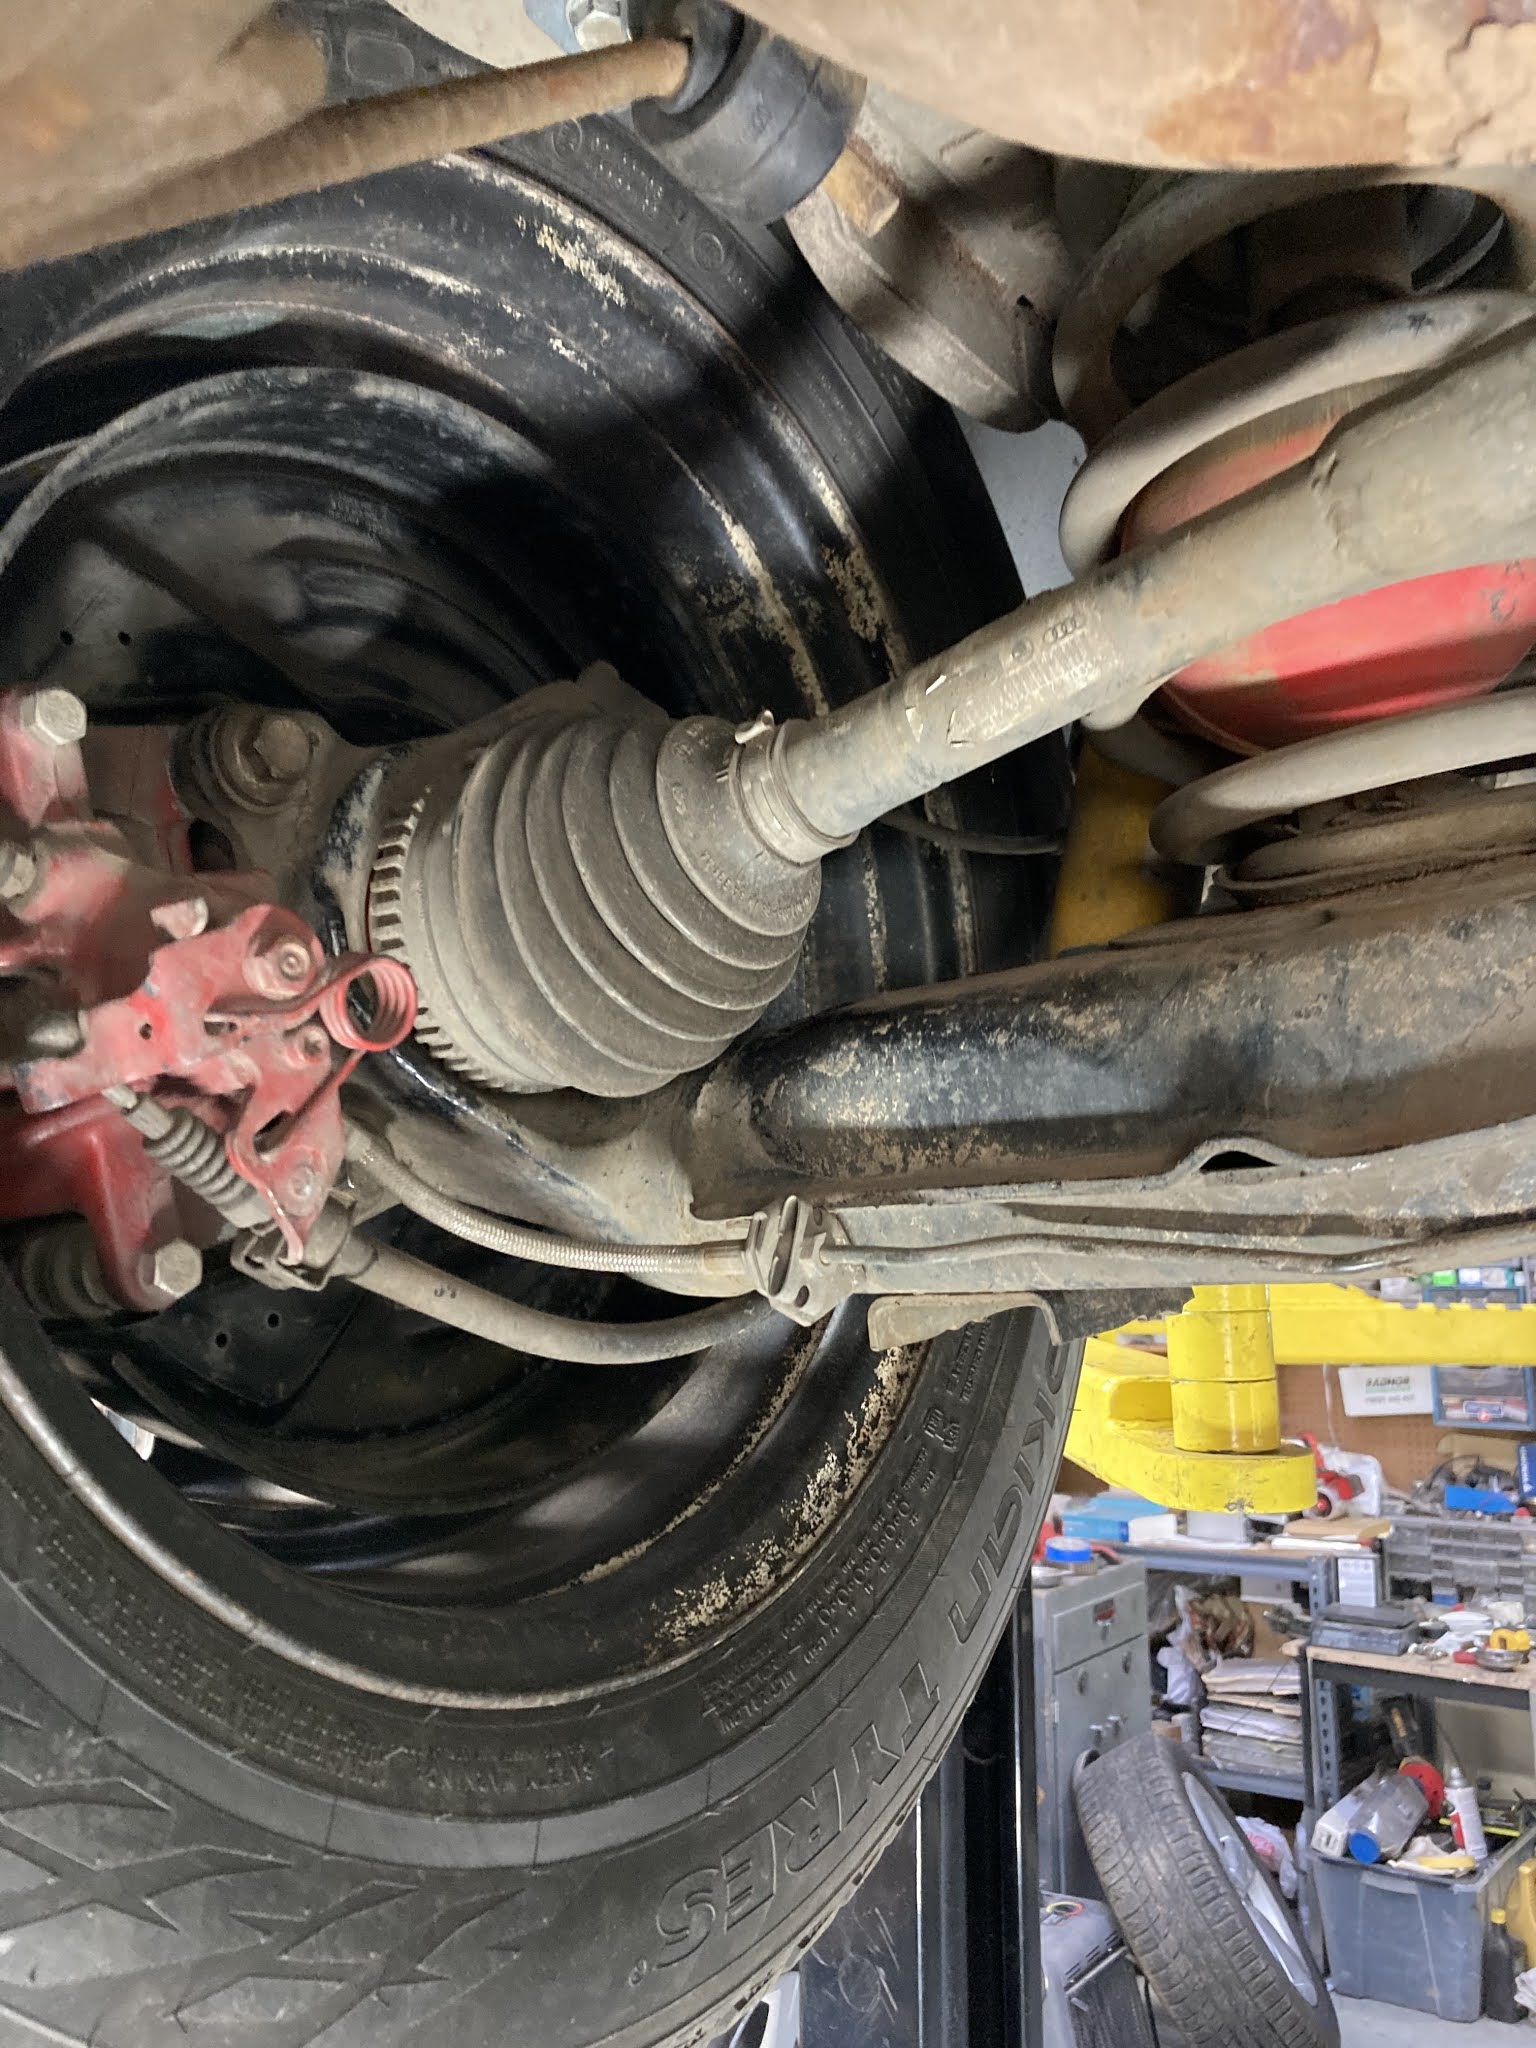
Inner view with custom L rear axle installed.

Make sure weight is on the ground and wheel is chocked and torque. Rear axle bolt 148ft/lbs.


Final step: torque wheel bolts to 118ft/lbs.


Thursday, April 30, 2020

Tales from the Crypt


This post is of archival pics from our early years doing TDI conversions and reviving old, worn out VW diesels,

 circa 2003-2009.  Beware: the hotlinks--like most virtual things in the Crypt--are dead....


All archival pics taken by Justin Soares


Monday, March 30, 2020

1975 Scirocco

This sweet MK1 Scirocco passed through my fingertips this past year. Originally I purchased it with the intention of converting it to diesel (1.6l NA VW) for my teenage daughter's first car. What a sweet and fast lil RatRod it was! At the time I owned it it was the fastest car I had ever owned, thanks to a hotrod eng/carb/exh. build by the previous owner and a very light chassis (2200lbs approx). It happened to have the perfect 5-spd trans for that diesel conversion: 5-spd FF code from a Rabbit diesel (nice and tall gearing). The idea of pulling that high performance eng and installing a 52hp Rabbit eng. was painful. Anyhow, to atone for my past Carbon sins--well some of them anyway--I recently bought the new fastest car I've ever owned. More on that some other time.....

Anyhow, here are a few pics of that Rocco that's now getting a full resto down in So. Cal.


2000 EVW Custom propane bottle bracket and new LPG tank install


 This was a long time coming but finally got it done. Lots of welding trying to save a little $$ on steel, so I made the bracket with pieces of scrap steel I had lying around the shop except for the long flat bar that I had to buy new.

I bought the LPG tank new 1.5yrs ago from GoWesty and just opened that box last week. Let's just say the past year plus has thrown me a few unexpected curve balls.... The tank is nice and rotund and a healthy 3.2gal to fill. Don't forget that with any new LPG tank you must take it to your local pro LPG folks and have them purge it before filling.

 
First I had to indulge my Yankee origins and get fully caffeinated to stay on task....


Thursday, June 14, 2018

2000 EVW propex heater and propane tank install

This mod has been a long while in the works.  Having a reliable, safe and non-stinky (ie diesel powered) auxiliary cabin heater has been on my winter project list for some time.  To help fund this project I sold 2 diesel fueled aux cabin heaters I had accumulated over the years.  In my experience propane is a superior fuel source for auxiliary heaters in vehicles--even diesels--less ignition trouble and less stinky.  In this install I was able to mount the heater underneath the Syncro Eurovan and plumb all my heating duct connections through the stock rear cabin heater box, so the van body remains uncut, and the interior remains free of additional vents/outlets.  The thermostatic control is mounted on the L rear side of the B column, directly behind the driver's seat.  Wiring to this is hidden under the interior panels and exits the vehicle to the heater under the L side jump seat.  A single 3/8" hole is the only hole drilled into the body for this install.  More details to come....

Propex HS2211:


Propex heater kit


Rear cabin heater blower box w outlet hose removed , test fitting ABS pipe fitting. 

Rear blower box from below. 

Misc selection of ABS fittings and hose connectors for this project. 

Broader view of work area 

Plenty of open space even w driveline running down the middle. 


Propex heater fitted for testing clearances etc. this will be the final installation position. 

View of the aluminum brackets I rigged up w some VW radiator fan rubber dampeners to isolate vibrations/sound.

Final propex heater location. Fresh air inlet is Teed into rear heater inlet and the hot air outlet is teed into the rear heater outlet. No holes in body/floor required. 
This is the fresh air inlet for the rear heater, now shared w the propex heater. 

And this is the rear cabin heater outlet also now shared with the propex heater. 


View from rear looking forward. The Propane tank was from a Vanagon T3 or an older T2 bus. 

Front view. 
Thermostat control for heater. Reachable from drivers seat with the ole reach-around technique ;-)

Close up of heater switch. 

Wiring routing for heater. This follows under the pedestal track of the jump seat and gets 12v pwr from the aux battery under driver’s seat. 

A short run  of wiring at the bottom of the B  column I opted not to route under the panel. The plastic was not agreeable to being removed so I made this small compromise that is hidden behind the jump seat when installed, which for me is most of the time. 


Ver. 1.0 LPG Tank view from side. I’ve since installed a new slightly bigger tank I got from GoWesty when they were having a big sale. 


Here’s ver. 2.0